
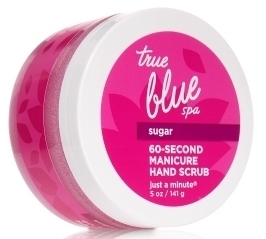
Step 1: Begin by exfoliating hands. This will make the skin super soft. I just run my hands under warm water then scrub on this exfoliant, then wash and dry my hands.
Step 2: File or clip nails. I usually clip then file them, as clipping is the most efficient way to shorten nails, while filing is the most efficient way to shape nails. I like my nails to be rounded, but some people prefer to square off nails. A good filing tutorial can be found here: http://www.nailsmag.com/article/474/Getting-Nails-Into-Shape

Step 3: Put a drop of dishsoap in a shallow bowl then pour in warm water. Mix the dishsoap around a little until it is fully dispersed.


Step 5: With the cuticle remover still on the nail, soak nails in the warm soapy water.

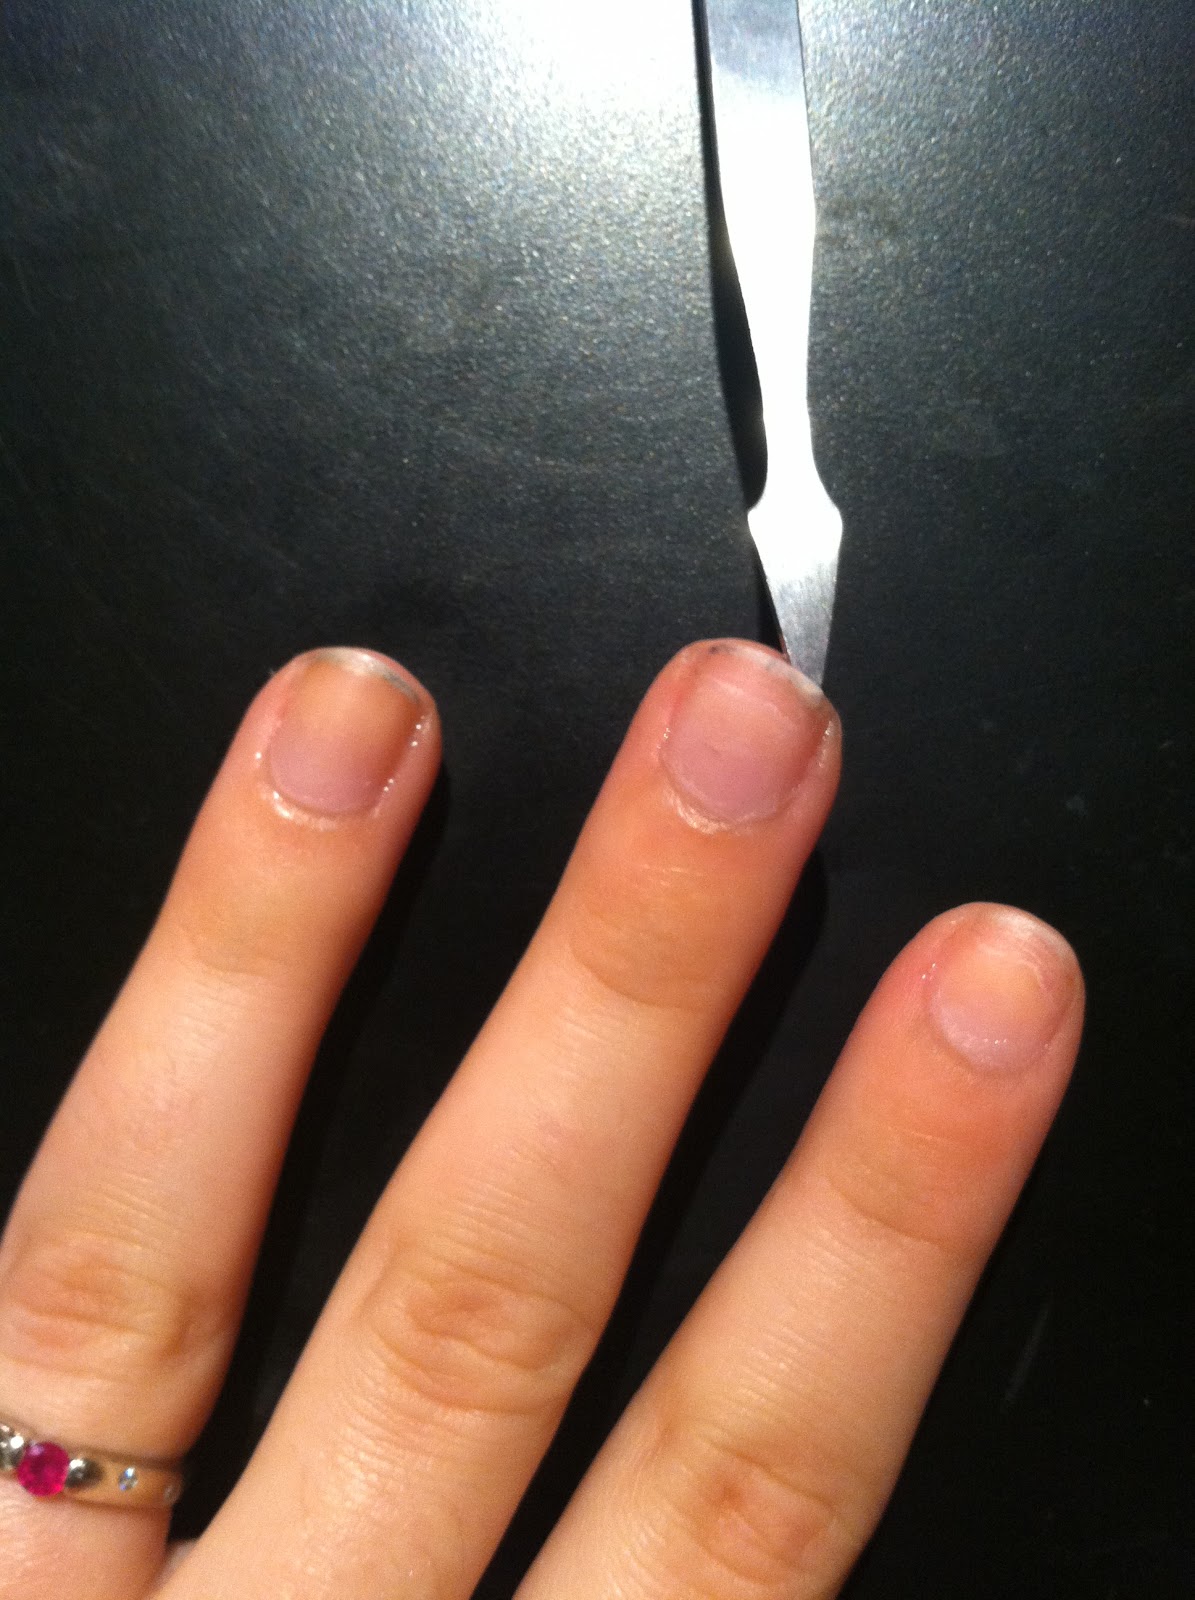
Step 6: Once nails & cuticles are soft, use a cuticle stick to push back cuticles.

Step 7: Once all the cuticle stuff is loose, clip it away using a cuticle clipper (sold at most drugstores.)

Step 8: Using a nail stick, clean out the under part of fingernails. This type of tool can also be found in most nail clippers. You just have to open the clipper and slide it out.
Step 9: Dry off fingers and you are ready to begin painting! Start with a basecoat to help the nail polish stay longer. I use Orly Top 2 Bottom, which functions as both a basecoat and topcoat.

Step 10: If you are not the best at staying within your nail when painting, then use a Q-Tip to spread vaseline all around the nail. Make sure it does not touch the nail at all. After you are done painting, the vaseline can be wiped off along with any polish that missed the nail and went onto the skin.

Step 12: Paint a stripe of color on each side of the color you already painted, and voila! A perfectly painted nail!


Step 15: Once the nail polish is COMPLETELY dry, moisturize your hands. I don't really have one moisturizer that I always use, but I have a few favorites (pictured below).


And Voila! Perfecto! The perfect manicure - soft, supple skin & flawlessly painted nails!
No comments:
Post a Comment